Getting Started.
Configuring the environment.
Before the end of the Python 2.7 support we had to decide which version of Python to work with. Knowing the differences between the 2.7 and 3.x versions and that we can not mix them in our projects, commonly we use a virtual environment for our projects.
There are different virtual environment managers, like virtualenv, virtualenvwrapper, venv and so on, no matter which of them to use, select one for creating the environment to install the dependencies for the project.
Creating the environment.
Here is a command to create the virtual environment using virtualenvwrapper.
$ mkvirtualenv --python=`which python2.7` pyoslc
(pyoslc) $
Note that the version of Python was passed as a parameter, in the virtualenvwrapper the default is Python 2.7, but this example shows how to specify a different version.
Installing dependencies.
Once we have created the virtual environment we need to install the dependencies or the set of libraries required for the execution or development of the PyOSLC project.
Within the root folder of the PyOSLC project that was created when cloning the project there is a file called requirement.txt which lists these libraries.
python-dotenv

Flask==1.0.2
Flask-CORS
Flask-RESTx
Flask-WTF
Flask-Bootstrap
Flask-SQLAlchemy
Flask-Login

RDFLib==5.0.0
RDFLib-jsonld

Authlib

Werkzeug==0.16.1
requests
pytest
To install the libraries execute the next command.
$ pip install -r requirements.txt
This command will take the name of each library listed in the requirement.txt file and will install it within the virtual environment. For some libraries in the requirement.txt file there is a specific version, the others will take the latest version for the library.
Executing the PyOSLC demo.
Having installed the dependencies, now it is possible to execute the demo application to show how the OSLC API works for exposing the endpoints of an specific domain application.
Since the PyOSLC SDK was developed using Flask and Flask-RESTx extension essentially, it is possible to use the Flask CLI to execute the application demo.
Flask prerequisites.
Before the execution of the application demo, it is necessary to review the value of some parameters to ensure that the application will run correctly. Within the root folder of the project there are two files, .env and .flaskenv, these files are necessary for the execution of the demo.
.flaskenv
This file defines some parameters required for the usage of the Flask CLI to execute the application:
FLASK_APP=app.wsgi.app
FLASK_ENV=development
FLASK_DEBUG=True
A deeper definition of these elements could be found in the documentation of Flask.
The value app.wsgi.app for the FLASK_APP variable represents the module and
name of the Flask application that we will execute, the first app is the name
of the folder, wsgi is the name of the module and the latter app is the name
of the Flask instance to be executed.
The other variables could be understood without more explanations.
.env
Within this file it is possible to establish some environment variables that should be used for the execution of the application demo.
For the demo or development purposes it is necessary to deactivate the validation of the SSL protocol for the usage of the Authlib unless the developer has the required certificates for the validations.
AUTHLIB_INSECURE_TRANSPORT=True
The environment variable should be present with the value True if there are
no SSL certificates, otherwise could be False or not present in the .env file.
Demo execution.
To execute the demo application we could use the Flask CLI.
$ flask run
* Serving Flask app "app.wsgi:app" (lazy loading)
* Environment: development
* Debug mode: on
* Running on http://127.0.0.1:5000/ (Press CTRL+C to quit)
* Restarting with stat
* Debugger is active!
* Debugger PIN: 234-758-391
This command will take the values setted in the environment variables to execute the application with the parameters specified, now it is possible to navigate to the app.

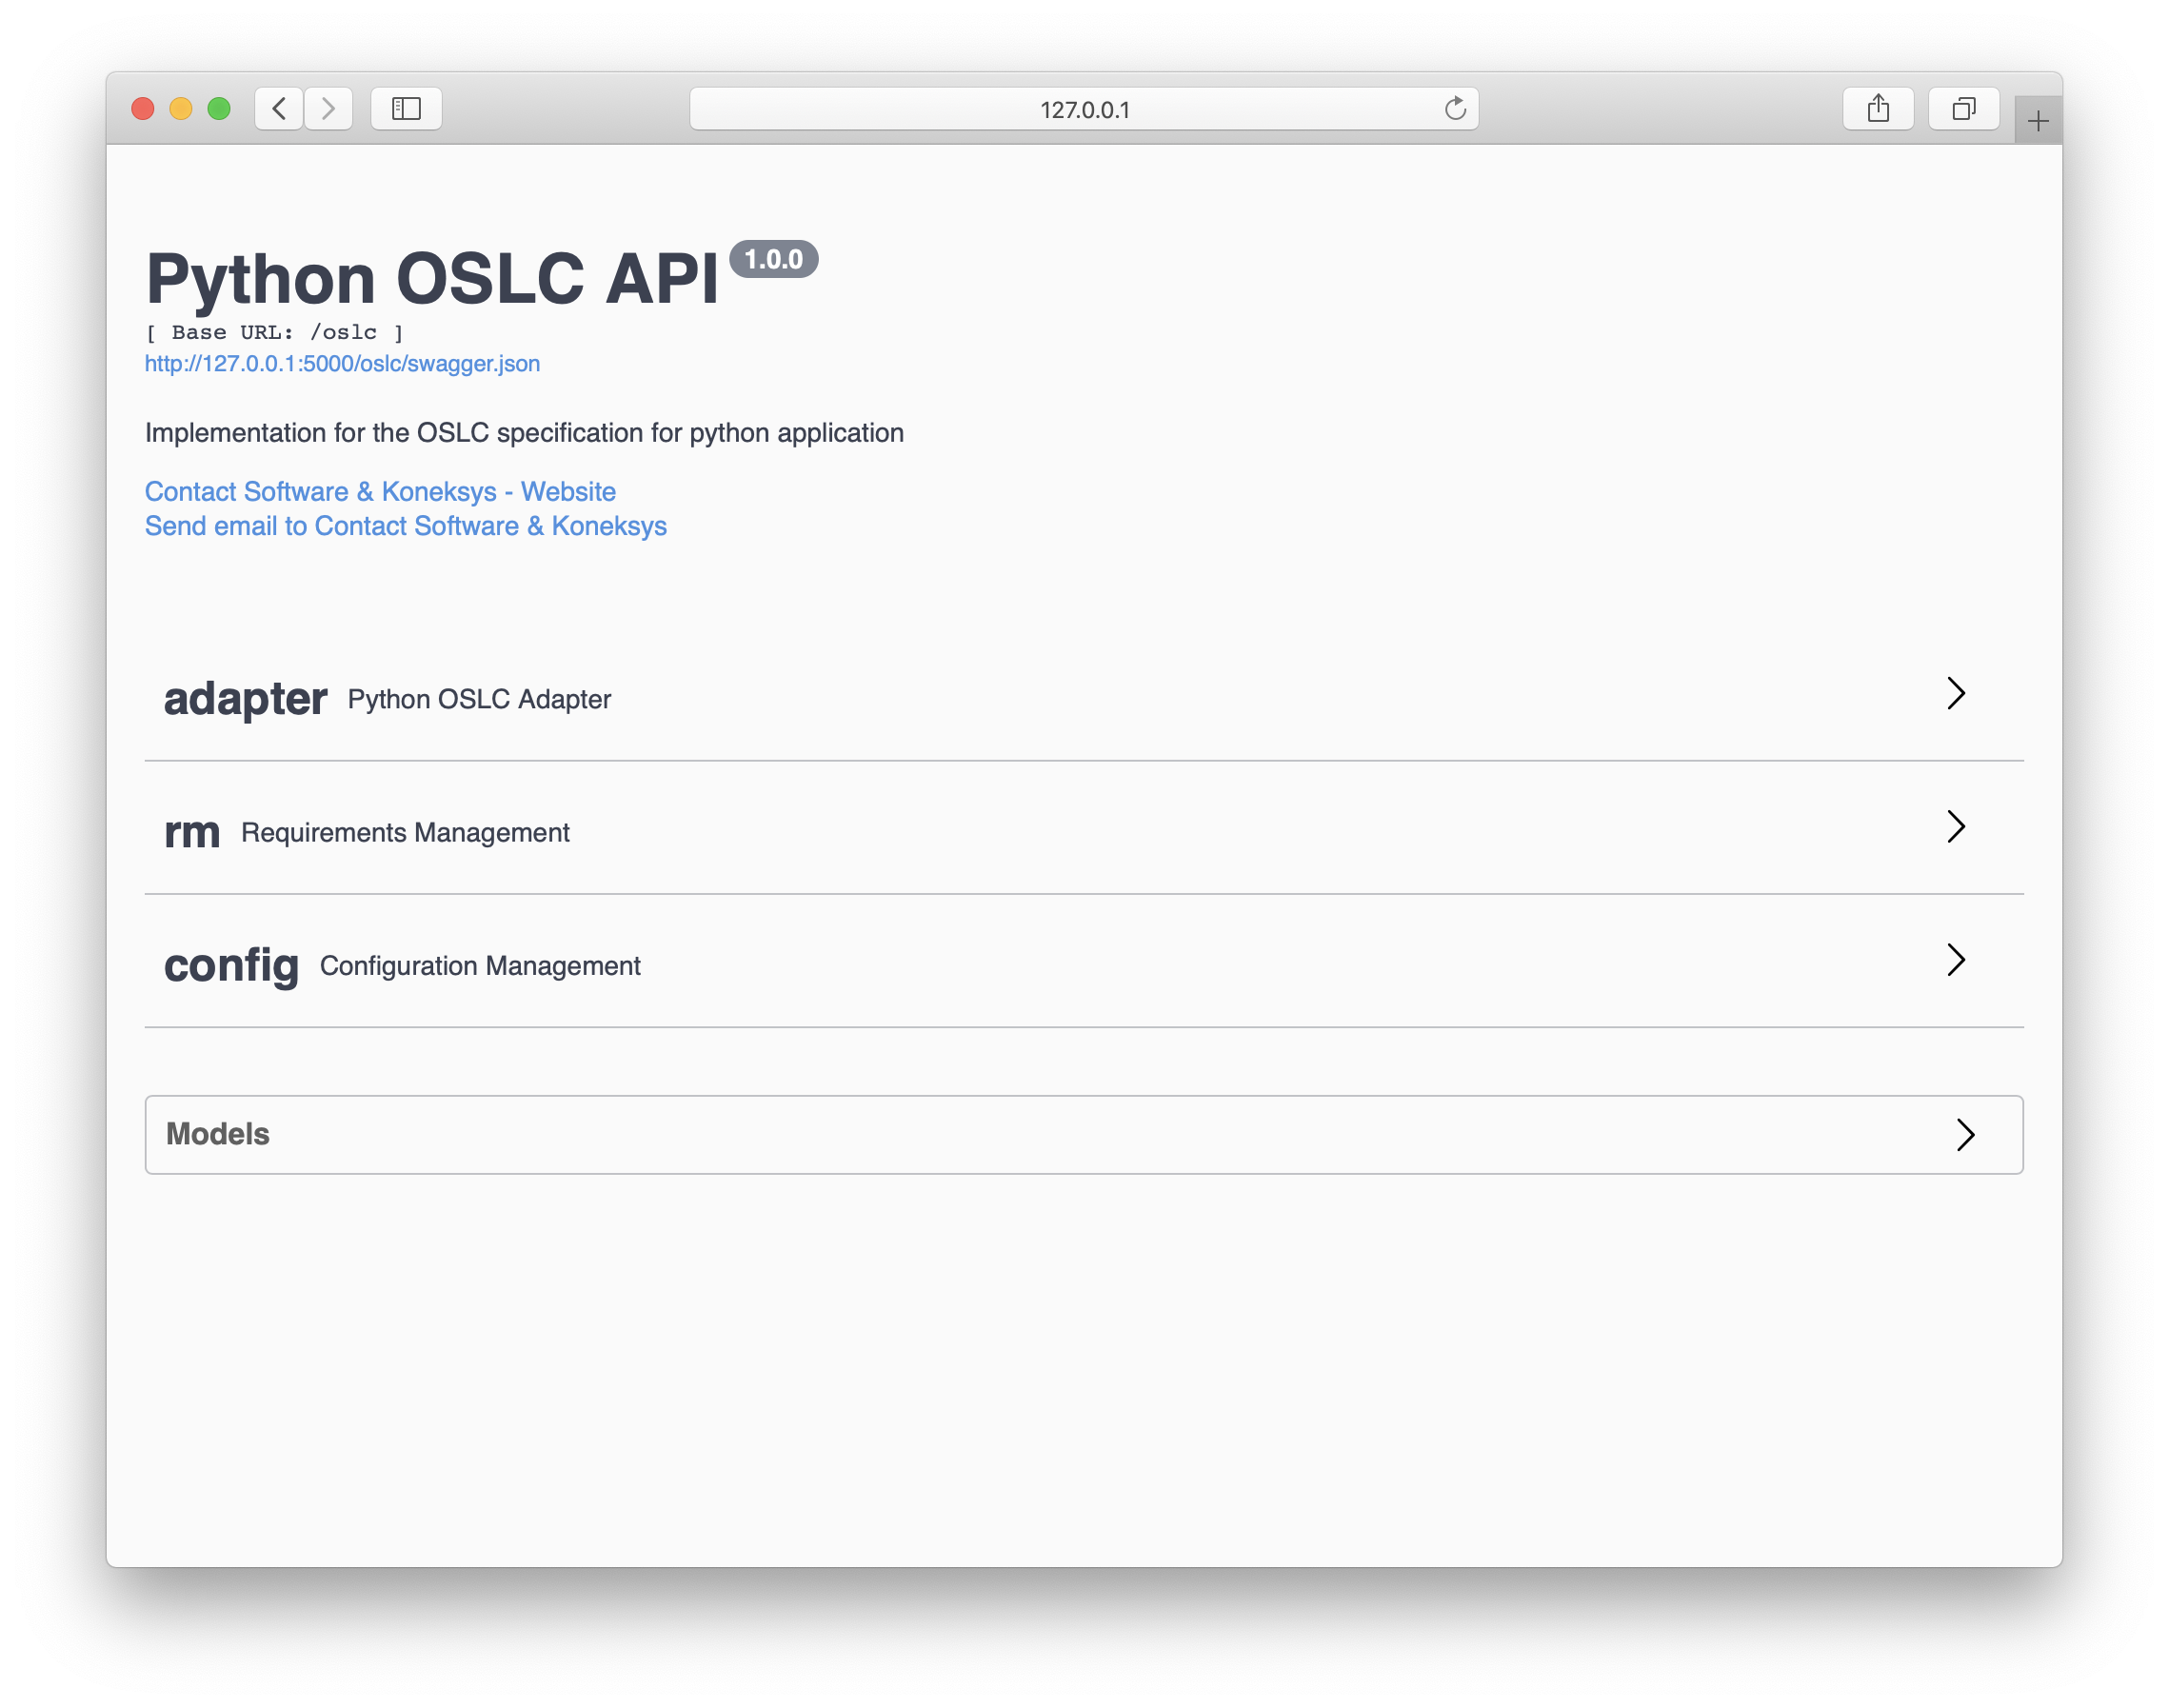
This application has been developed using Flask to make the web app, and Flask-RESTx extension to create the REST API.
Using the web app it is possible to access the data through the web page to see the information and the endpoints available in the API, the Flask-RESTx extension uses Swagger to auto document the API.
Using the OSLC API.
There are different ways to use the OSLC API, but the most important and common way to use it is to send requests against the endpoints that will return the information stored within the specific domain application.
HTTP clients.
There are lots of HTTP clients for sending requests against an endpoint of an API, some of them are for the command line like cURL, or httpie, others are with GUI like Postman or Insomnia.
Since this demo is not for explaining how to use these clients, the httpie client will be used for the examples.
The Service Provider Catalog.
The main endpoint of an OSLC API is the ServiceProviderCatalog, for getting the information within this endpoint in the PyOSLC demo, it is necessary to send a request against the endpoint developed for this purpose.
Request:
$ http http://127.0.0.1:5000/oslc/services/catalog accept:application/rdf+xml
Response:
<?xml version="1.0" encoding="utf-8"?>
<rdf:RDF
xmlns:dcterms="http://purl.org/dc/terms/"
xmlns:j.0="http://jazz.net/xmlns/prod/jazz/process/1.0/"
xmlns:oslc="http://open-services.net/ns/core#"
xmlns:rdf="http://www.w3.org/1999/02/22-rdf-syntax-ns#">
<oslc:ServiceProviderCatalog rdf:about="http://127.0.0.1:5000/oslc/services/catalog">
    <oslc:domain rdf:resource="http://open-services.net/ns/rm#"/>
    <dcterms:title>Contact Software Platform Service Provider Catalog</dcterms:title>
    <oslc:serviceProvider rdf:resource="http://127.0.0.1:5000/oslc/services/provider/Project-1"/>
    <dcterms:description>A Service Provider for the Contact Software Platform.</dcterms:description>
    <oslc:domain rdf:resource="http://jazz.net/xmlns/prod/jazz/process/1.0/"/>

    ...

</oslc:ServiceProviderCatalog>
</rdf:RDF>
This response contains the definition of the ServiceProviderCatalog and the service providers defined within the OSLC API.
The Service Provider.
Within the ServiceProviderCatalog response it could be more than one service provider, remember that for each application or project of an specific domain application it is possible to have one service provider, in the next example it is shown how to retrieve the list of service for an specific project.
Request:
$ http http://127.0.0.1:5000/oslc/services/provider/Project-1 accept:application/rdf+xml
Response Headers:
HTTP/1.0 200 OK
Accept: application/rdf+xml
Access-Control-Allow-Origin: *
Content-Length: 4721
Content-Type: application/rdf+xml
Date: Thu, 03 Sep 2020 17:27:25 GMT
OSLC-Core-Version: 2.0
Server: Werkzeug/0.16.1 Python/2.7.16
Response Body:
<?xml version="1.0" encoding="utf-8"?>
<rdf:RDF
    xmlns:dcterms="http://purl.org/dc/terms/"
    xmlns:j.0="http://jazz.net/xmlns/prod/jazz/process/1.0/"
    xmlns:oslc="http://open-services.net/ns/core#"
    xmlns:rdf="http://www.w3.org/1999/02/22-rdf-syntax-ns#">
    <oslc:ServiceProvider rdf:about="http://127.0.0.1:5000/oslc/services/provider/Project-1">
        <dcterms:title rdf:datatype="http://www.w3.org/2001/XMLSchema#Literal">PyOSLC Service Provider for Project 1</dcterms:title>
        <oslc:details rdf:resource="http://127.0.0.1:5000/oslc/services/provider/Project-1"/>
        <dcterms:identifier rdf:datatype="http://www.w3.org/2001/XMLSchema#string">Project-1</dcterms:identifier>
        <dcterms:description>Service Provider for the Contact Software platform service (id: Project-1; kind: Specification)</dcterms:description>
    </oslc:ServiceProvider>
</rdf:RDF>
The Services.
Depending on the domain specific application it is possible to have services to expose specific endpoints to retrieve data, create or use the information with other components of the OSLC like QueryCapability, CreationFactory and other components like Selection and Creation dialogs.
These services are also available within the OSLC API using the next endpoints.
Query:
http GET http://127.0.0.1:5000/oslc/services/provider/Project-1/resources/requirement
Creation:
http POST http://127.0.0.1:5000/oslc/services/provider/Project-1/resources/requirement
Selection Dialog:
http GET http://127.0.0.1:5000/oslc/services/provider/Project-1/resources/selector
Creation Dialog:
http GET http://127.0.0.1:5000/oslc/services/provider/Project-1/resources/creator